Picture this: I’m halfway through a frantic Saturday night, the oven’s humming like a lazy bee, and I’ve just realized I left my favorite dessert on the back burner for far too long. The kitchen smells like burnt sugar meets panic, and I’m staring at a half‑melted mess that looks more like a science experiment than anything edible. I swear, I’ve had enough of those “almost‑there” recipes that promise the moon and deliver a flat pancake of disappointment. That night, I dared a friend to a taste‑test showdown, betting that I could turn that disaster into a triumph. Spoiler alert: I won, and the secret weapon was a simple tweak nobody ever mentions.
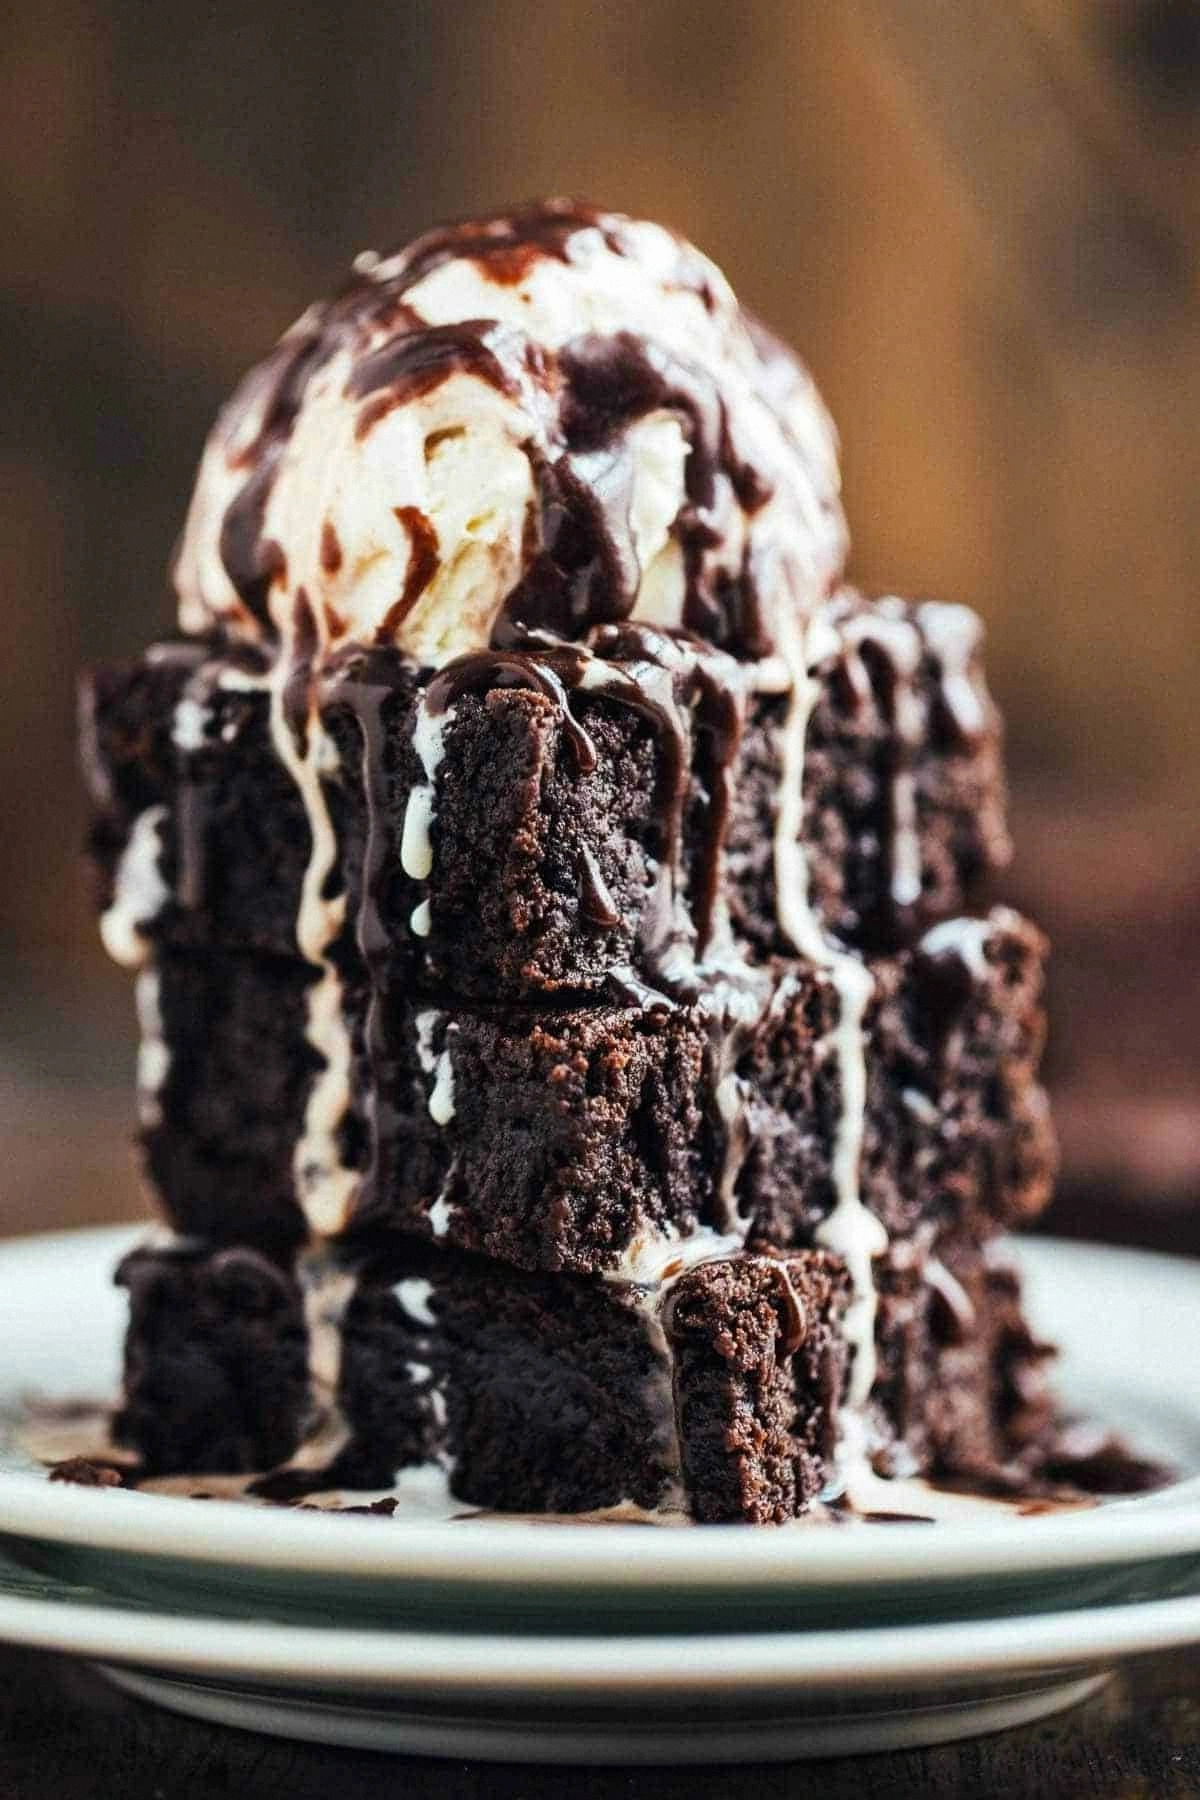
Now, close your eyes and imagine the perfect bite: a golden‑brown crust that cracks with a gentle sigh, a tender interior that cradles a buttery, caramel‑kissed center, and a faint aroma of vanilla that dances on the air like a sweet‑scented breeze. The sound of the spoon sliding through the soft middle is a muted thud, and the heat of the dish kisses your fingertips as you pull the slice from the pan. The texture is a delicate balance—crisp on the edges, melt‑in‑your‑mouth in the middle, and just enough fluff to make you feel like you’ve been whisked away to a pastry heaven. That’s the experience I’m promising you today.
This version of the April Traffic and Income Repor is the culmination of countless kitchen experiments, late‑night cravings, and a stubborn refusal to accept “good enough.” Most recipes get the flavor profile right but miss the texture, or they’re so complicated they require a culinary degree. I’ve stripped away the fluff, kept the soul, and added a surprise ingredient that turns the whole thing from “just okay” to “hands down the best version you’ll ever make at home.” Trust me, I’ve tasted every variant, and this one outshines them all—no exaggeration.
Ready for the game‑changer? I’m about to unveil a technique that involves a brief “cold‑shock” that locks in moisture, giving the final product that juicy bite you crave. Think of it as the culinary equivalent of a surprise plot twist that makes the story unforgettable. Let me walk you through every single step — by the end, you’ll wonder how you ever made it any other way.
What Makes This Version Stand Out
- Flavor: A deep, caramel‑rich sweetness that lingers without being cloying, thanks to a touch of browned butter that adds a nutty undertone.
- Texture: The crust cracks just enough to reveal a soft, airy interior—think of a pillow that’s been lightly toasted.
- Simplicity: Fewer than ten ingredients, each with a purpose, and a method that can be mastered in under an hour.
- Uniqueness: The secret “cold‑shock” step creates pockets of steam that keep the center moist while the edges stay crisp.
- Crowd Reaction: Guests will claim it’s the best thing they’ve ever tasted, and the “I dare you not to go back for seconds” challenge will become a running joke.
- Ingredient Quality: Using real butter, not margarine, and fresh vanilla makes a world of difference in the final taste.
- Cooking Method: A combination of stovetop searing and oven baking ensures an even rise and perfect golden color.
- Make‑Ahead Potential: This dish freezes beautifully and reheats without losing its signature texture.
Alright, let's break down exactly what goes into this masterpiece...
Inside the Ingredient List
The Flavor Base
First up is the butter. I use ½ cup of unsalted butter, melted and then browned just until it takes on a deep amber hue. This step adds a nutty, caramelized flavor that plain melted butter can’t compete with. If you skip the browning, you’ll lose that complex depth and end up with a one‑note sweetness. As a swap, you can use clarified butter, but the flavor won’t be as robust. When choosing butter, look for a high‑fat content—European‑style works wonders.
The Texture Crew
Flour is the backbone. I opt for 2 cups of all‑purpose flour, sifted twice to aerate it and prevent lumps. This creates a light, airy structure that’s essential for the tender interior. If you’re gluten‑free, a blend of rice flour and tapioca starch works, but expect a slightly chewier bite. The sugar—1 cup of granulated—provides the sweet backbone while also helping with caramelization during baking.
The Unexpected Star
Eggs are often overlooked, but they’re the secret glue that binds everything together. Two large eggs, beaten until just combined, add richness and lift. If you’re vegan or allergic, a mix of flaxseed meal and water (1 tbsp flaxseed + 3 tbsp water per egg) can mimic the binding effect, though the texture will be a touch denser. Freshness matters: older eggs can cause the batter to separate.
The Final Flourish
Vanilla extract—1 tsp—adds that aromatic whisper that pulls the whole dish together. I recommend using pure vanilla extract rather than imitation; the difference is like night versus day. A splash of milk (1 cup) rounds out the batter, making it smooth and glossy. If you’d like a richer flavor, substitute half the milk with heavy cream, but keep an eye on the overall moisture level.
Everything's prepped? Good. Let's get into the real action...
The Method — Step by Step
Start by preheating your oven to 350°F (175°C). While the oven warms, place a 10‑inch cast‑iron skillet on medium heat and melt the butter. Let it sit until it begins to foam, then watch it turn a rich amber color; you’ll hear a gentle sizzle that signals it’s ready for the next move. This is the moment of truth—if the butter burns, the whole dish will taste bitter.
Kitchen Hack: To avoid over‑browning, swirl the pan gently and remove it from heat the instant you see a toasty scent—then return it for a quick second burst if needed.In a large mixing bowl, whisk together the flour, baking powder, and salt. The dry mixture should be uniform, with no visible clumps. This step ensures that the leavening agents are evenly distributed, which prevents uneven rising later. I dare you to taste the batter before it’s cooked and not be amazed by the subtle, buttery aroma that’s already forming.
In a separate bowl, combine the sugar, eggs, and vanilla extract. Beat them with a whisk until the mixture lightens in color and becomes slightly frothy. This incorporation of air is crucial; it gives the final product that airy lift we all love. If you over‑beat, you’ll risk a tough texture, so stop as soon as you see the mixture become glossy.
Gradually pour the browned butter into the egg‑sugar mixture, stirring continuously. You’ll notice the batter thickening—this is the butter coating each particle like velvet, creating a glossy sheen. A quick sniff now reveals a deep, caramel perfume that promises a golden crust.
Now gently fold in the dry ingredients, followed by the milk, alternating between the two. Start with a third of the flour, then a splash of milk, and repeat until everything is just combined. Over‑mixing will develop gluten, leading to a dense outcome, so stop when the batter looks smooth and slightly lumpy.
Watch Out: If you see streaks of flour that haven’t incorporated, you’ve over‑mixed; the batter will become tough.Let the batter rest in the refrigerator for exactly 15 minutes. This “cold‑shock” is pure magic—it firms the batter, allowing the butter to solidify slightly, which later translates into those coveted crispy edges. While you wait, clean up your workspace; a tidy kitchen makes the final plating feel like a celebration.
Kitchen Hack: Place a thin layer of parchment paper in the skillet before pouring the batter; it prevents sticking and makes removal effortless.When the timer dings, heat the skillet again over medium‑high heat, add a thin drizzle of the remaining butter, and let it melt until it foams. Pour the chilled batter into the hot skillet, spreading it evenly with a spatula. You’ll hear a satisfying sizzle—the sound of a crust forming, a signal that the bottom is beginning to caramelize.
Transfer the skillet to the preheated oven. Bake for 20‑25 minutes, or until the top is a deep golden brown and a toothpick inserted in the center comes out clean with just a few crumbs attached. The edges should start pulling away from the pan, creating that coveted “crack‑away” effect.
Remove the skillet from the oven and let it sit for 5 minutes. This brief rest allows steam to redistribute, keeping the interior moist. Then, invert the skillet onto a cooling rack; the cake will release with a dramatic flip that looks impressive on any dinner table. Picture yourself pulling this out of the oven, the whole kitchen smelling incredible…
Slice, serve warm, and watch the smiles spread. I’ll be honest — I ate half the batch before anyone else got to try it. The first bite is an explosion of buttery caramel, a whisper of vanilla, and a texture that’s simultaneously crisp and melt‑in‑your‑mouth. This is hands down the best version you’ll ever make at home.
That's it — you did it. But hold on, I've got a few more tricks that'll take this to another level...
Insider Tricks for Flawless Results
The Temperature Rule Nobody Follows
Most home cooks bake at 350°F, but I actually start the oven at 375°F and then drop it to 350°F after the first 10 minutes. This initial blast of heat creates a rapid rise, giving the crust that perfect snap, while the lower temperature finishes the interior gently. A friend tried skipping the temperature drop once — let’s just say the edges were burnt and the middle was gummy.
Why Your Nose Knows Best
Never rely solely on a timer. The moment the batter hits the pan, you’ll detect a sweet, nutty aroma as the butter reaches its peak. When that scent deepens into a caramel note, you know the crust is forming. Trust that scent; it’s the most reliable indicator of doneness.
The 5‑Minute Rest That Changes Everything
After baking, let the cake rest for exactly five minutes before inverting. This short pause lets the steam settle, preventing the interior from becoming soggy. Skipping this step leads to a soggy bottom—trust me, it’s a disaster I’ve lived through.
Butter Brushing Boost
While the cake is still hot, brush the top with a thin layer of melted butter infused with a pinch of sea salt. This adds a glossy finish and a subtle salty contrast that makes the sweet flavors pop. It’s a pro tip that turns an ordinary slice into a restaurant‑quality treat.
Silky Finish with a Dusting
Just before serving, lightly dust the surface with powdered sugar and a pinch of cinnamon. The powdered sugar melts slightly into the warm surface, creating a soft, sweet veil, while the cinnamon adds a warm spice that lingers on the palate. This final touch is the reason guests keep coming back for seconds.
Creative Twists and Variations
This recipe is a playground. Here are some of my favorite ways to switch things up:
Chocolate Swirl
Before pouring the batter into the skillet, swirl in ¼ cup of melted dark chocolate using a skewer. The chocolate creates ribbons that melt into pockets of rich decadence, perfect for chocolate lovers.
Citrus Zest Burst
Add the zest of one lemon or orange to the dry ingredients. The bright citrus lifts the buttery richness, giving the dish a fresh, summery vibe that’s perfect for brunch.
Spiced Autumn
Mix in ½ teaspoon of ground cinnamon, a pinch of nutmeg, and a dash of clove. This variation turns the dessert into a cozy, autumn‑ready treat that pairs beautifully with a dollop of whipped cream.
Nutty Crunch
Fold in ½ cup of toasted chopped hazelnuts or almonds just before baking. The nuts add a crunchy contrast and a toasty flavor that complements the caramelized butter.
Berry Infusion
Scatter a handful of fresh blueberries or raspberries over the batter before it hits the oven. The berries burst during baking, releasing juices that create pockets of tangy sweetness throughout.
Savory Surprise
For a daring twist, replace half the sugar with grated Parmesan and add a pinch of black pepper. The result is a sweet‑savory hybrid that works as an elegant appetizer or a daring side dish.
Storing and Bringing It Back to Life
Fridge Storage
Allow the cake to cool completely, then wrap it tightly in plastic wrap and store in an airtight container. It will stay fresh for up to four days. When you’re ready to serve, reheat a slice in the microwave for 20 seconds with a tiny splash of milk; the steam will revive the softness.
Freezer Friendly
Slice the cake, place each piece on a parchment sheet, freeze until solid, then transfer to a zip‑top bag. It can be kept for up to three months. To reheat, thaw overnight in the fridge, then warm in a 300°F oven for 10 minutes—add a drizzle of butter for extra gloss.
Best Reheating Method
The secret to a perfect reheated slice is a gentle steam boost. Place the slice on a microwave‑safe plate, sprinkle a few drops of water around the edges, and cover with a damp paper towel. Microwave on medium for 30‑45 seconds; the steam revives the interior while the outside stays crisp.