I was standing in my kitchen, staring at a bowl of flour that looked more like a cloud than a cooking ingredient. The last time I tried to make a sweet Filipino snack, I ended up with a dense, flat cake that could have been a pancake. My friend dared me to recreate the legendary Puto, but with a twist that would make it the fluffiest, most irresistible treat on the block. So I set the stove to medium, grabbed a whisk, and whispered, “Let’s turn this into a cloud that melts in your mouth.”
The moment the batter hit the heat, a sweet aroma drifted through the air, mingling with the faint metallic tang of the salted eggs. I could feel the batter’s silky texture against my fingertips, and the gentle hum of the kitchen appliances set a rhythmic backdrop. The sound of the whisk was a steady drumbeat, promising that each swirl would bring us closer to that perfect, airy rise. I could taste the anticipation in the air—sweetness balanced with savory, like a sunrise over a quiet harbor. It was the kind of sensory preview that made my stomach growl with excitement.
What sets this version apart is that it doesn’t rely on the usual heavy batter or a single type of egg. Instead, I layer the lightness with egg whites, a splash of milk, and a generous sprinkle of cheese, creating a harmony that sings in every bite. The secret lies in the precise ratio of cake flour to baking powder, and the delicate balance of sweet and salty that keeps the palate intrigued. My friends have called it “the ultimate Puto,” and I’m about to explain why it’s hands down the best version you’ll ever make at home. If you’re ready for a game‑changer, let’s walk through each step together—by the end, you’ll wonder how you ever made it any other way.
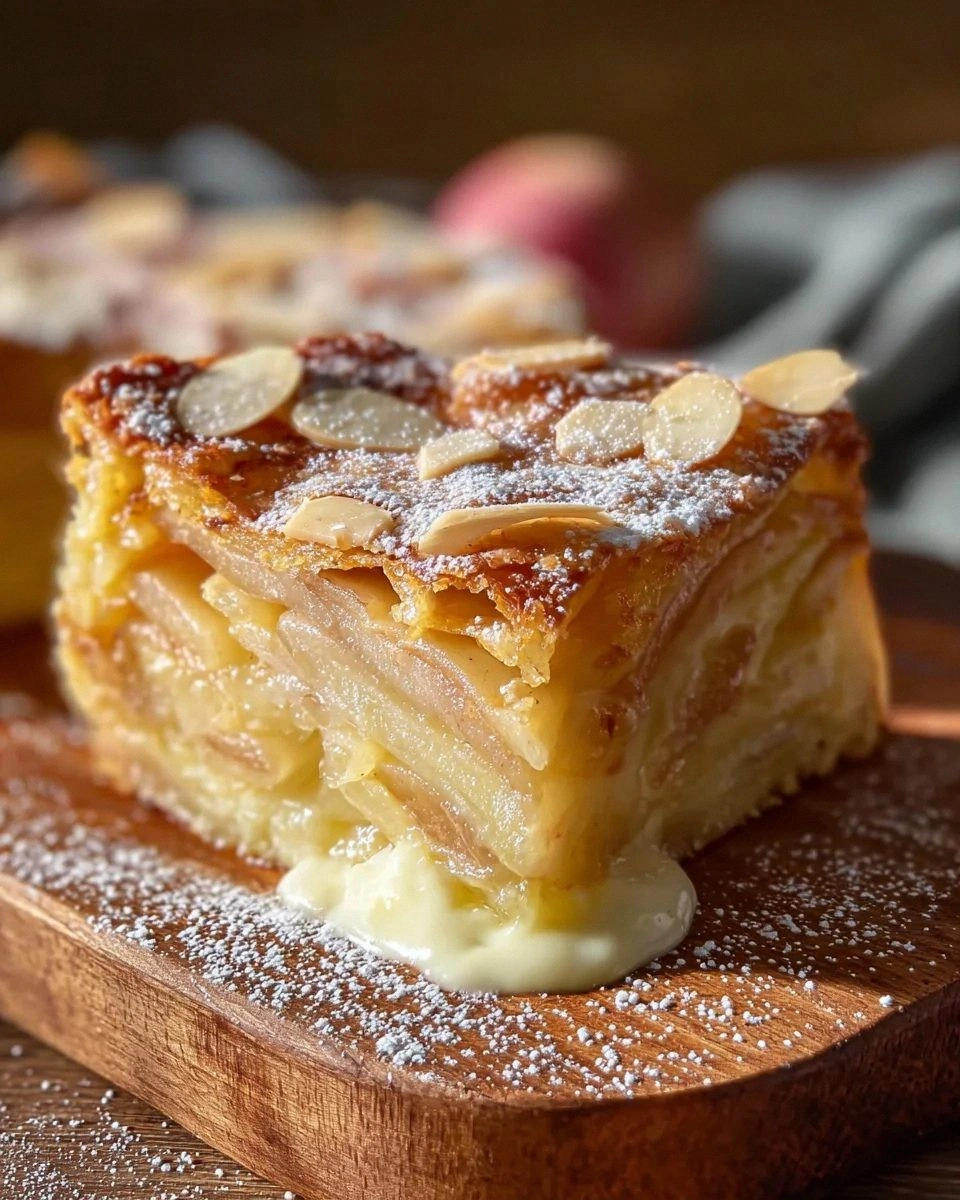
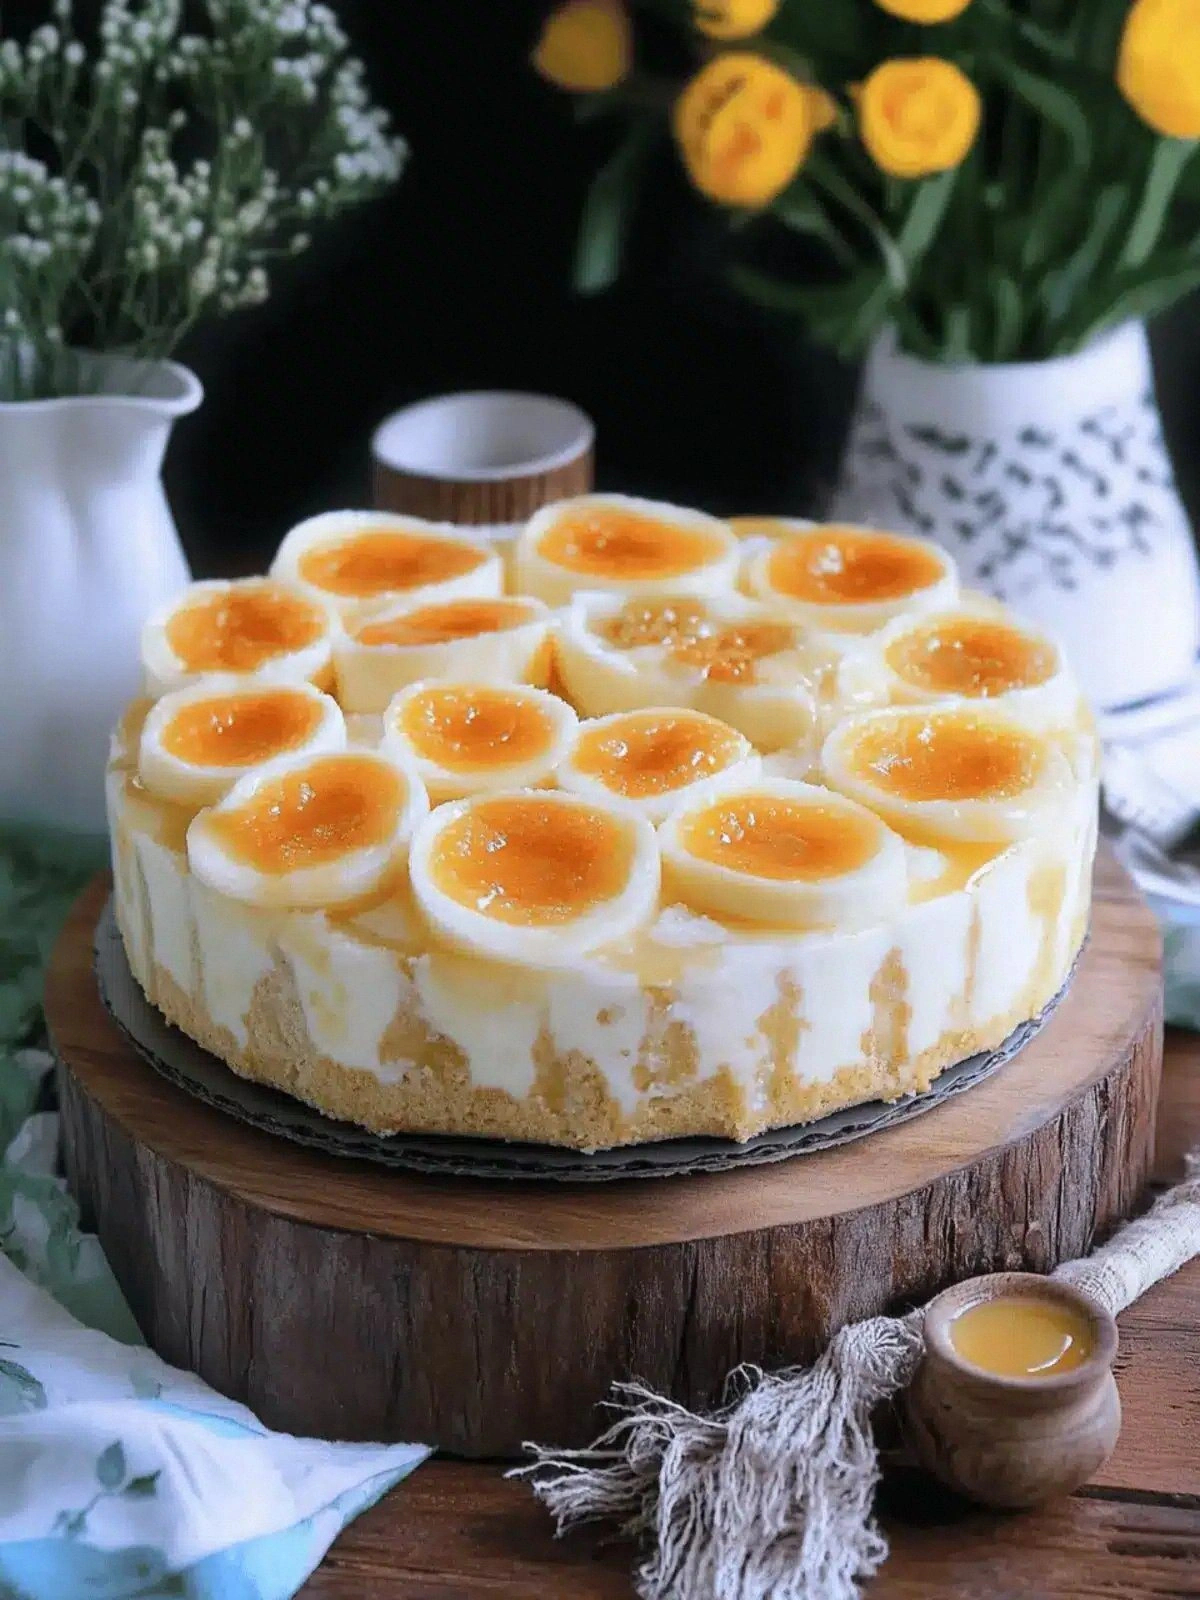
Picture yourself pulling this golden masterpiece out of the oven, the whole kitchen smelling incredible, and the first bite sending a cascade of flavors across your tongue. It’s that moment of triumph when the batter has risen like a cloud, the edges have crisped just enough, and the inside remains moist and tender. I dare you to taste this and not go back for seconds. The texture is so airy that it practically dissolves in your mouth, leaving a lingering sweetness that’s balanced by a subtle savory undertone. It’s a culinary experience that feels like a warm hug wrapped in a cloud.
What Makes This Version Stand Out
- Texture: The batter’s airy consistency is achieved by folding in beaten egg whites, creating a sponge-like structure that rises beautifully. Each bite offers a delicate, cloud‑like feel that melts instantly. The cheese adds a subtle creaminess that balances the dryness of the flour.
- Flavor: Sweetness from sugar and milk is perfectly countered by the salty depth of the eggs and cheese, creating a complex profile that satisfies both sweet and savory cravings. The cheese also adds a nutty undertone that elevates the overall taste.
- Simplicity: Despite its impressive texture, the recipe uses only eight basic ingredients, making it accessible for both beginners and seasoned cooks. No exotic spices or hard‑to‑find items are required.
- Uniqueness: Combining the traditional Filipino Puto with a cheese crust and salted eggs gives it a distinctive twist that sets it apart from classic versions. This fusion of flavors feels fresh yet familiar.
- Crowd Reaction: Friends and family who have tasted it describe it as “the fluffiest, most flavorful snack” they’ve ever had. It’s a conversation starter at gatherings and a crowd‑pleaser at parties.
- Ingredient Quality: Using fresh milk, high‑quality cheese, and salted eggs ensures the best flavor profile. The choice of cake flour over all‑purpose flour also contributes to the lightness.
- Cooking Method: The technique of folding egg whites into the batter at the right moment is key to achieving maximum lift. The careful timing of adding baking powder prevents the batter from collapsing.
- Make‑Ahead Potential: Once baked, the Puto can be stored for up to 48 hours, making it a convenient option for meal prep or late‑night cravings.
Alright, let’s break down exactly what goes into this masterpiece…
Inside the Ingredient List
The Flour Factor
Cake flour is the backbone of this recipe, providing the fine, powdery texture that allows the batter to rise like a cloud. Its low protein content means the gluten strands don’t overdevelop, keeping the cake tender. If you only have all-purpose flour, the cake will be denser, but you can still achieve good results by sifting it to remove lumps. The key is to measure the flour by volume, not by weight, to maintain consistency.
The Leavening League
Baking powder is the catalyst that pushes the batter upward, creating the signature fluffy interior. The 2 tablespoons of baking powder are calibrated to work in tandem with the egg whites, ensuring a balanced rise. If you’re using a single‑acting powder, add it in two stages—once with the dry ingredients, and again with the wet mix—to keep the batter airy. Avoid over‑mixing once the leavening agents are added, as that can cause the cake to collapse.
The Sweet Symphony
¾ cup of granulated white sugar dissolves into the liquid, creating a smooth, sweet base that caramelizes slightly on the top during baking. The sugar also contributes to the Maillard reaction, giving the Puto a golden crust. If you prefer a richer sweetness, a tablespoon of honey can replace half the sugar, but adjust the liquid content accordingly. The sugar’s role is not just flavor; it also helps retain moisture, keeping the cake tender.
The Creamy Core
Fresh milk adds moisture and richness, balancing the dry ingredients and creating a silky batter. It also reacts with the baking powder to produce steam, which further lifts the cake. Use whole milk for a richer taste, or low‑fat for a lighter version; just keep the volume the same. If you’re lactose intolerant, oat milk works as a substitute, but the texture may be slightly different.
The Egg White Elevation
Four large egg whites are folded into the batter, introducing air pockets that expand during baking. The whites’ protein structure stabilizes the batter, preventing it from collapsing. Whisk the whites until they form soft peaks, then fold them gently to preserve the foam. If you’re using a single egg, separate the yolk and keep it aside; you’ll need it for the salted egg filling later.
The Acidic Touch
½ teaspoon of cream of tartar stabilizes the egg whites, ensuring they hold their shape and provide maximum lift. It also reacts with the baking powder to boost the rise. If you don’t have cream of tartar, a pinch of lemon juice can serve as a substitute, though the flavor will be slightly more pronounced. Adding it before whisking the whites ensures even distribution.
The Salty Star
Four salted eggs add a savory punch that balances the sweetness. The eggs are diced finely, allowing them to melt into the batter while still contributing texture. If you can’t find salted eggs, a mixture of regular eggs and a teaspoon of salt can work, but the flavor profile will shift slightly. The salted eggs also provide protein, boosting the nutritional value.
The Cheesy Finish
A cup of grated cheese (cheddar or mozzarella) is folded into the batter, adding a creamy, slightly tangy flavor. The cheese melts during baking, creating a subtle crust that contrasts with the airy interior. If you prefer a milder taste, Swiss cheese is an excellent alternative. The cheese also contributes to the cake’s structure, adding a slight firmness that holds the shape.
Everything’s prepped? Good. Let’s get into the real action…
The Method — Step by Step
- Prep the Pan: Lightly grease a 9-inch round cake tin with butter or non‑stick spray. This step is crucial; if the batter sticks, you’ll lose that beautiful rise. I line the bottom with parchment paper for an extra layer of protection. Then I set the tin aside, ready for the batter.
- Sift the Dry: In a large bowl, sift together cake flour, baking powder, and a pinch of salt. The sifting removes any lumps and ensures even distribution of leavening agents. As you sift, you’ll notice the flour lighten, almost like a cloud of dust. This is a good sign that the batter will rise evenly.
- Whisk the Egg Whites: In a separate bowl, beat the egg whites with cream of tartar until soft peaks form. The peaks should hold their shape for a few seconds before gently falling. This process incorporates air, which is essential for the cake’s fluffiness. Once ready, set the whites aside on a plate to keep them cool.
- Combine Wet Ingredients: In a medium bowl, whisk together the milk, sugar, and a splash of vanilla extract. Stir until the sugar dissolves completely. The mixture should feel smooth and silky, ready to mingle with the dry components.
- Mix Dry and Wet: Pour the wet mixture into the dry ingredients and stir gently with a spatula until just combined. Avoid over‑mixing; you want a few lumps that will disappear during baking. The batter should be thick but pourable, like a thick custard.
- Fold in Egg Whites: Using a rubber spatula, fold the beaten egg whites into the batter in a gentle, circular motion. This step is the moment of truth—if you rush, the air bubbles will collapse. Watch the batter rise as you fold, like a cloud gaining altitude.
- Add Cheeses and Eggs: Gently fold in the grated cheese and diced salted eggs. The cheese should melt slightly into the batter, while the eggs maintain their shape for a subtle crunch. The mixture now has a beautiful, speckled appearance.
- Pour and Bake: Spoon the batter into the prepared tin, filling it about three‑quarters full. Tap the tin lightly on the counter to release air bubbles. Bake at 180°C (350°F) for 30 minutes, or until a toothpick inserted in the center comes out clean. The top should be golden brown and slightly crisp.
- Cool and Serve: Remove the cake from the oven and let it cool in the tin for 10 minutes. Then transfer to a wire rack to cool completely. Slice with a sharp knife, and enjoy the contrast of airy interior and savory crust.
That’s it— you did it. But hold on, I’ve got a few more tricks that will take this to another level…
Insider Tricks for Flawless Results
The Temperature Rule Nobody Follows
Pre‑heat the oven to 180°C (350°F) and allow it to stabilize for at least 10 minutes before baking. A fluctuating oven can cause uneven rising and a soggy bottom. Use an oven thermometer to confirm the temperature, especially if your oven runs hot. This simple step ensures a consistent rise and a golden crust.
Why Your Nose Knows Best
Before you pull the cake out of the oven, pause and inhale the aroma. A pleasant, sweet scent indicates the batter has cooked through. If you smell a metallic or sour note, the cake may need a few more minutes. Trusting your nose is a quick and effective way to avoid over‑baking.
The 5-Minute Rest That Changes Everything
Let the cake rest in the tin for 5 minutes after baking. This allows the steam to settle, preventing the bottom from becoming soggy. During this rest, the cake’s structure will set, making it easier to slice without tearing. Skipping this step often results in a cake that crumbles when you try to serve it.
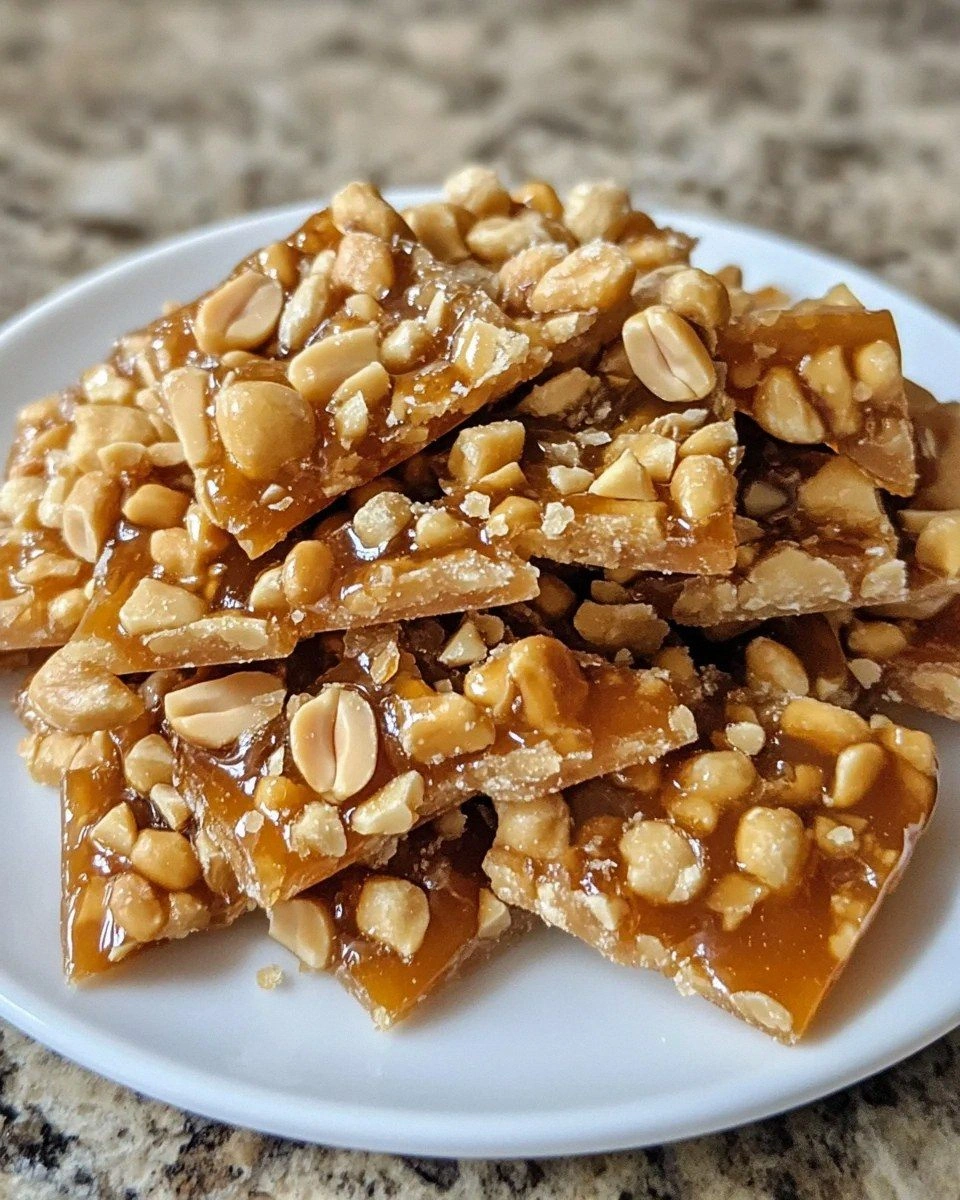
The Cheesy Layer Trick
If you want a thicker cheese crust, sprinkle extra grated cheese on top of the batter before baking. The cheese will melt into the batter, forming a golden, slightly crispy layer that adds a delightful crunch. This is especially effective when you’re serving the cake as an appetizer at a party.
The Egg White Timing Secret
Fold the egg whites into the batter as soon as the dry and wet ingredients combine. Waiting too long can cause the air bubbles to collapse. A quick, gentle fold preserves the airy structure, leading to a lighter cake. I’ve seen people wait until the last minute, and the result is a denser, flatter cake.
Creative Twists and Variations
This recipe is a playground. Here are some of my favorite ways to switch things up:
Coconut Cream Delight
Replace half of the milk with coconut milk and add a tablespoon of shredded coconut to the batter. The tropical flavor pairs beautifully with the salty eggs, creating a dessert that feels like a beach vacation. The coconut also adds a slight chew that contrasts with the airy interior.
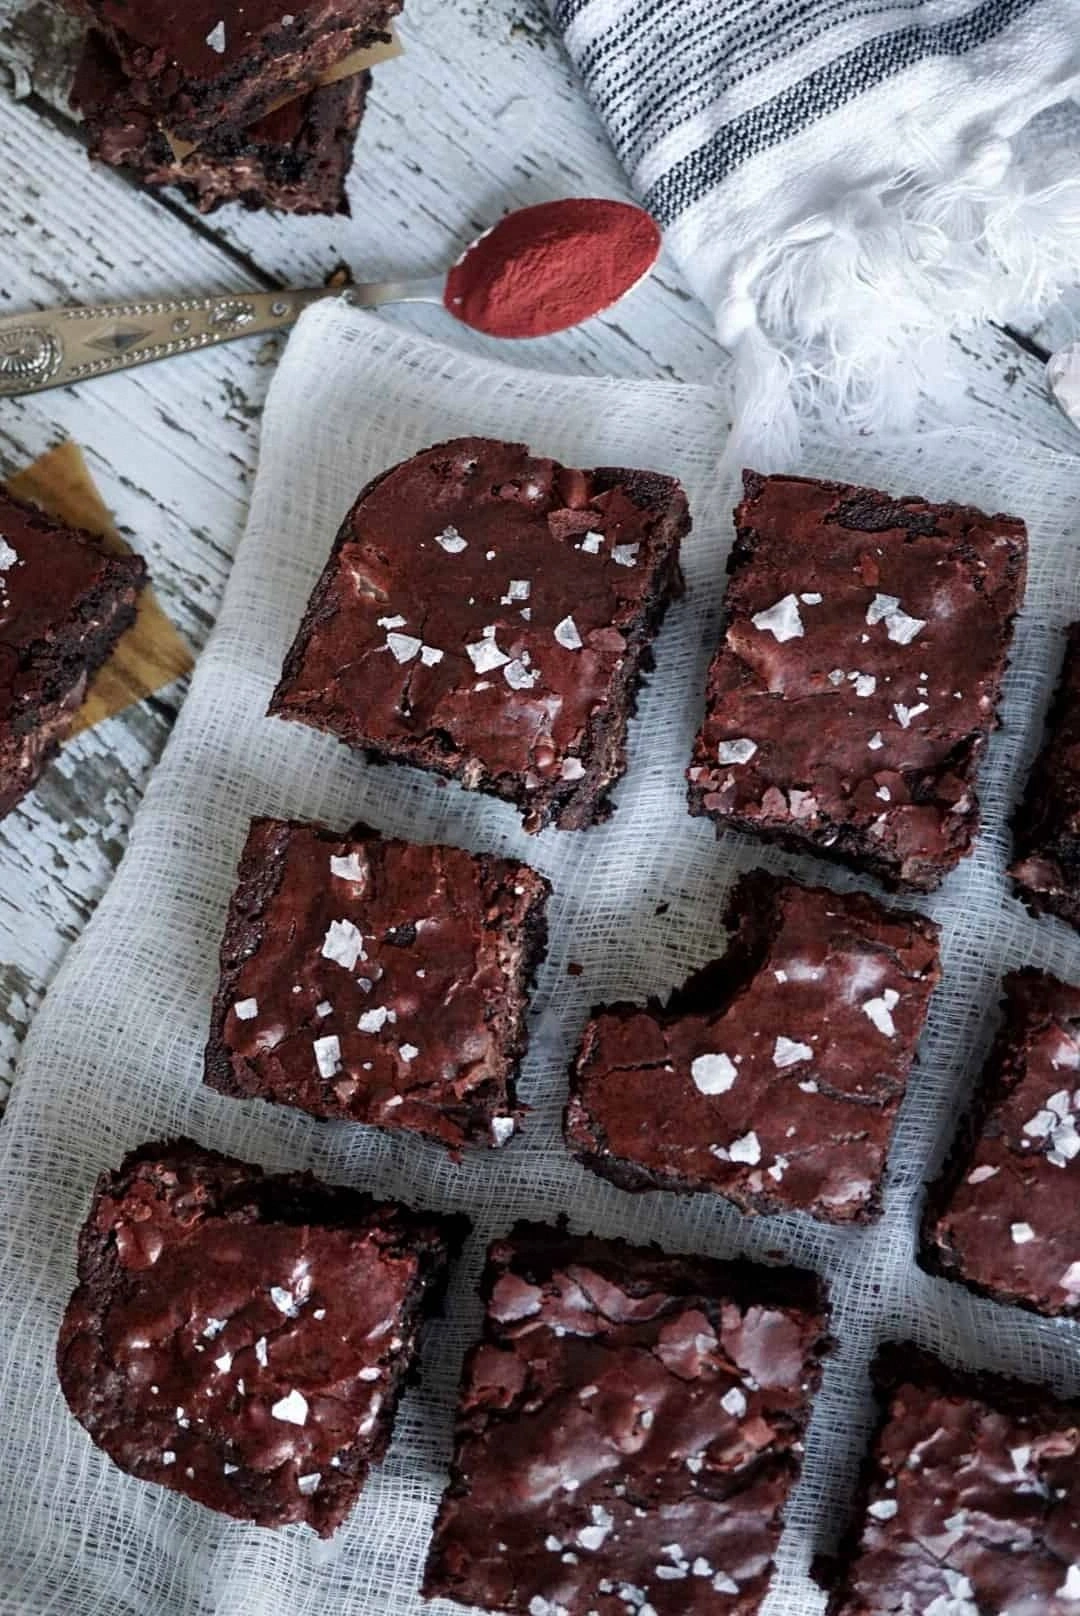
Chocolate‑Infused Surprise
Fold in ½ cup of melted dark chocolate and a pinch of sea salt. The chocolate adds depth and a bittersweet finish that pairs well with the cheese. This version is perfect for chocolate lovers who want something sweet yet savory.
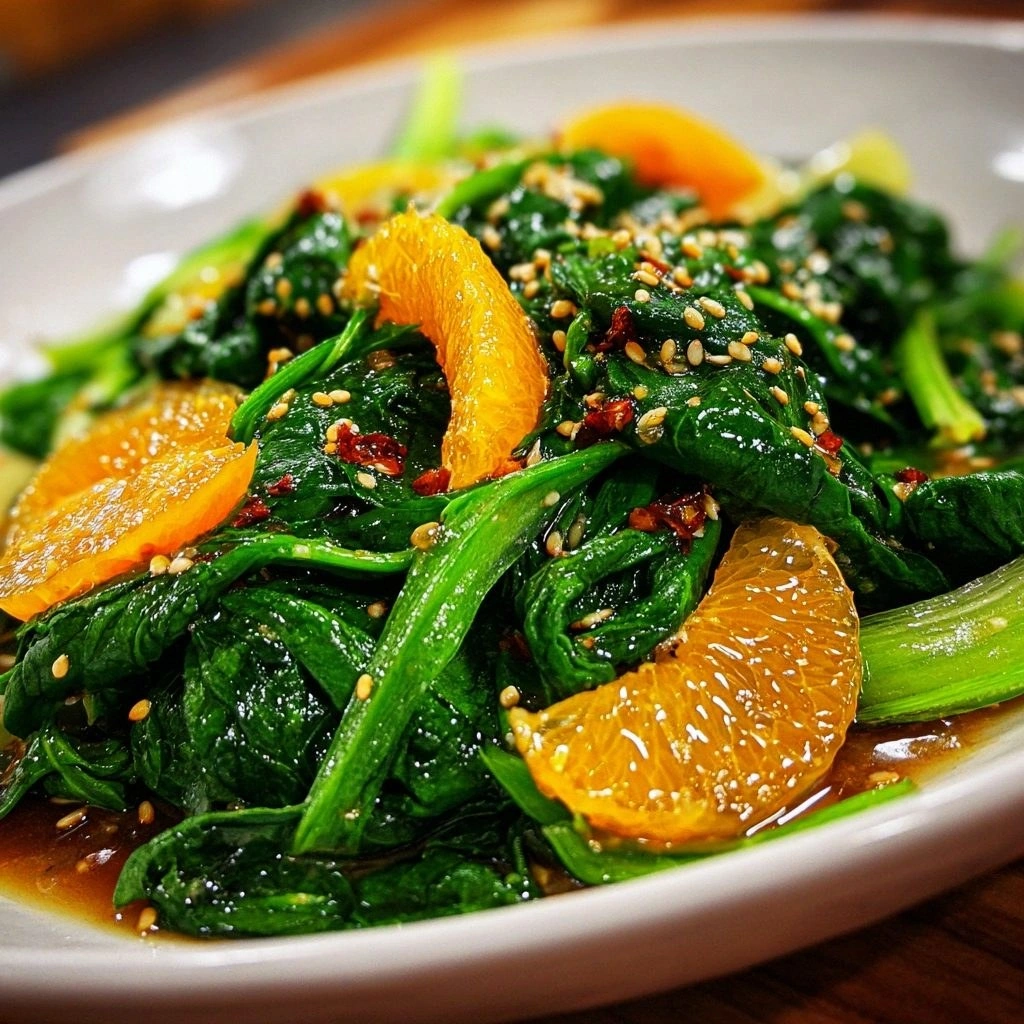
Herb‑Cheese Fusion
Stir in a tablespoon of finely chopped fresh herbs like chives or parsley. The herbaceous note brightens the flavor profile and adds a pop of color. This twist is ideal for brunch or a light lunch.
Spiced Sweetness
Add a pinch of cinnamon and nutmeg to the batter. The warm spices give the cake a comforting, autumnal vibe. This version works well during the cooler months, especially around Thanksgiving.
Vegan Version
Use a plant‑based milk, flaxseed or chia egg substitute, and nutritional yeast for the cheese flavor. The texture will be slightly denser, but the flavor remains rich. This vegan twist makes the cake inclusive for all dietary preferences.
Mini Puto Skewers
Drop spoonfuls of batter onto skewers before baking. This creates bite‑size treats that are perfect for parties or as a snack. The skewers keep the batter contained, preventing it from spreading too much.
Storing and Bringing It Back to Life
Fridge Storage
Store the cooled cake in an airtight container at room temperature for up to 48 hours. The airtight seal prevents the cake from drying out. If you’re planning to serve it later in the day, keep it in a cool, dry place to maintain freshness.
Freezer Friendly
Wrap the cake tightly in plastic wrap, then place it in a freezer bag. It can be stored in the freezer for up to 2 weeks. When you’re ready to eat, thaw it at room temperature for 30 minutes before reheating.
Best Reheating Method
Reheat the cake in a preheated oven at 150°C (300°F) for 10 minutes. Add a tiny splash of water to the bottom of the pan to create steam, which keeps the cake moist. This method preserves the fluffy texture and prevents the cake from becoming dry.