I was standing in a kitchen that smelled like burnt toast and desperation when the idea hit me: a honey bun that could redeem the entire morning. The last batch I made had been a sad, doughy lump that clung to the dough hook and left me staring at the clock, wondering if I’d ever taste that sweet, buttery glory again. The moment I pulled the oven door open, the air was thick with the scent of caramelized sugar, a promise of something divine. That instant, I knew I had to write this down—because every time I hear “honey buns,” I’m supposed to imagine a bakery in a dream, not a kitchen that’s about to turn into a sugar laboratory.
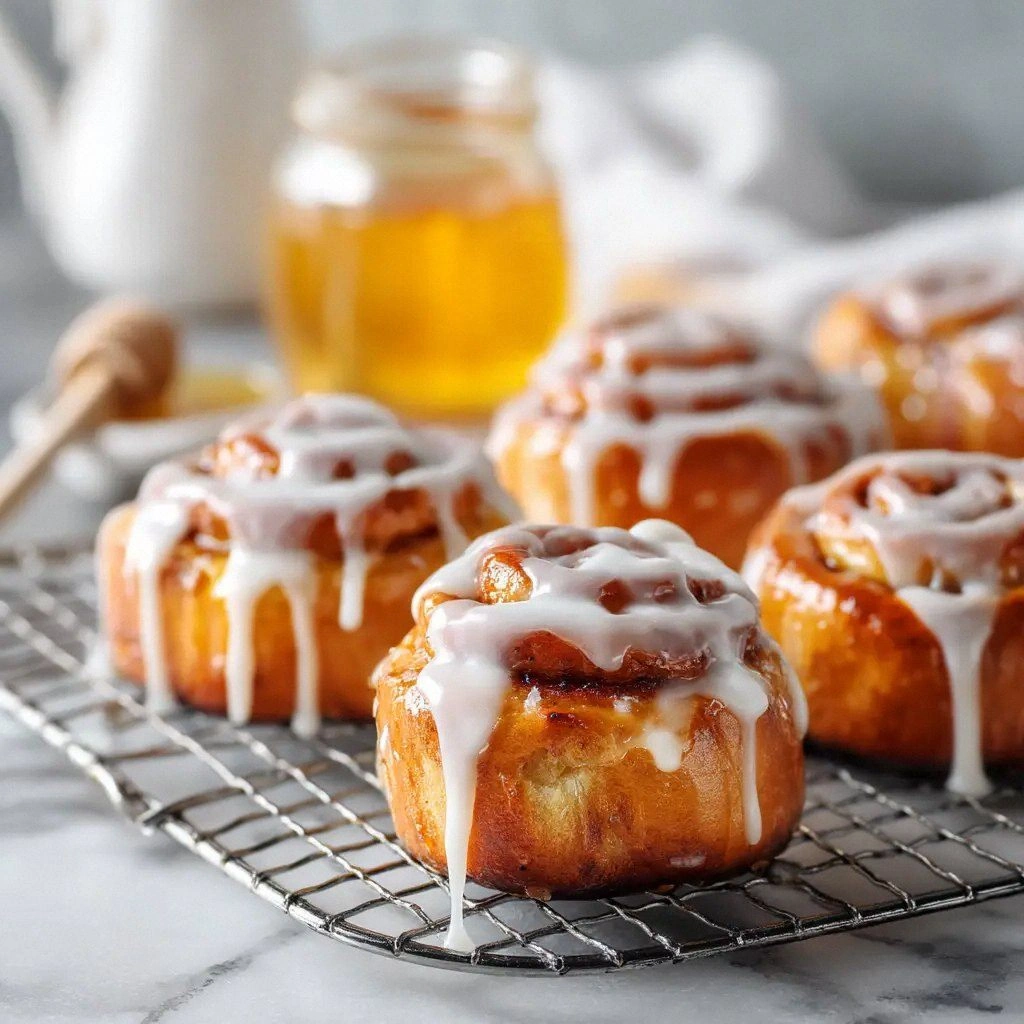
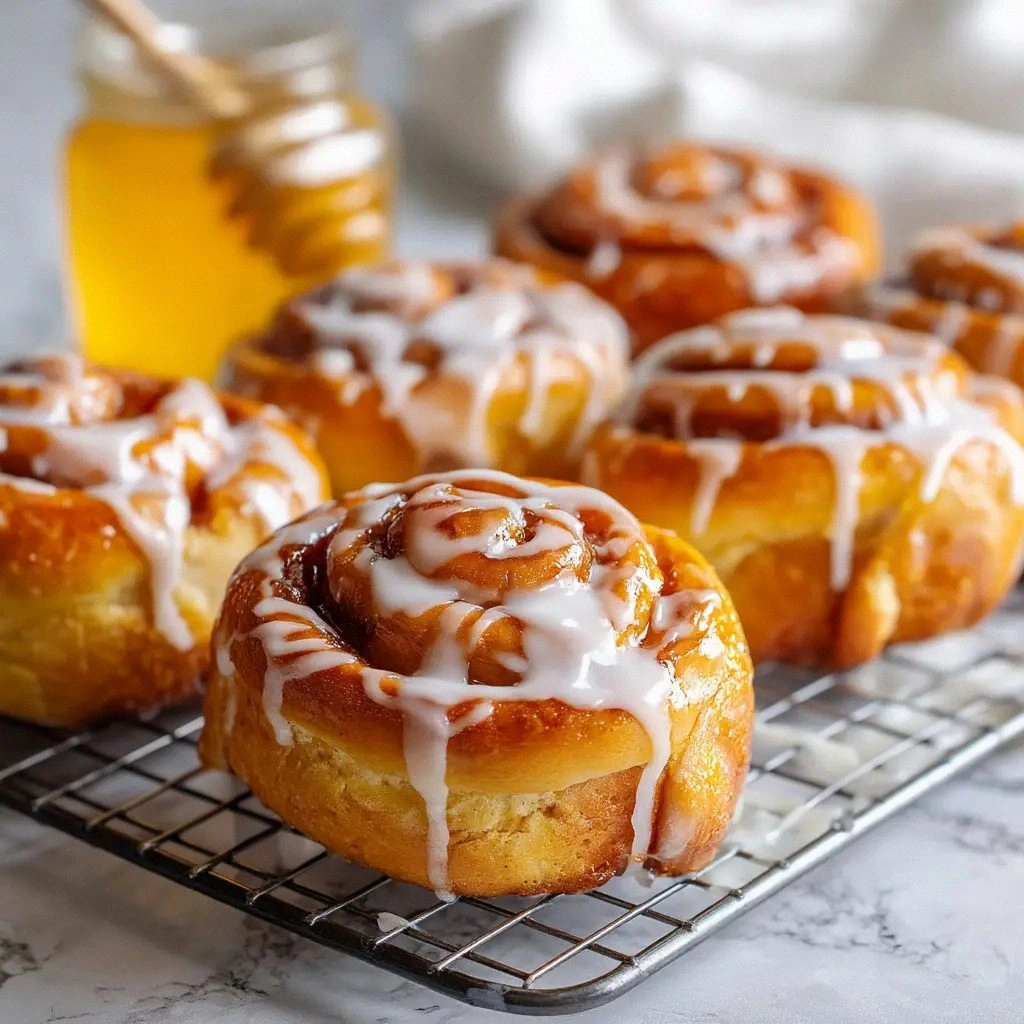
Picture this: golden‑brown rolls that puff up like fluffy clouds, their tops glazed with a glossy honey sheen that catches the light like liquid amber. The first bite is a symphony—soft, pillowy dough meets a burst of cinnamon‑sweet honey that sings against the buttery crumb, while a whisper of vanilla lingers like a secret. The aroma alone can turn a sleepy Sunday into a celebration, and the texture is the kind of contrast that makes you wonder why you ever settled for regular pastries. I dare you to taste this and not go back for seconds, because once you’ve had one, the rest will feel like a betrayal of your taste buds.
What sets this version apart isn’t just the honey or the cinnamon; it’s the meticulous layering of flavors, the precision in the dough’s rise, and the final glaze that gives each bun a caramelized, almost buttery finish. I’m talking about a recipe that balances the richness of butter with the gentle sweetness of honey, while the cinnamon adds depth without overpowering. The secret lies in the timing of each ingredient, the temperature of the milk, and the gentle hand you give the dough during the first rise. If you’ve ever struggled with sticky dough or unevenly sweet buns, this recipe is the fix you didn’t know you needed.
The real twist? I’ll reveal a trick that most bakers skip—using a small splash of cold milk in the final glaze to give the honey that silky, glassy finish that doesn’t run off like a syrupy mess. That simple addition transforms the glaze from a mere coating to a glossy crown that makes the buns look like they’ve been kissed by the sun. And when the first bun comes out of the oven, the kitchen fills with a scent that’s so irresistible, it feels like the entire house is humming a sweet tune. Picture yourself pulling this out of the oven, the whole kitchen smelling incredible, and seeing those golden buns glimmering like treasure. I promise you, the moment the oven door opens, you’ll be the hero of your own kitchen saga.
Okay, ready for the game‑changer? Let’s walk through every single step—by the end, you’ll wonder how you ever made it any other way. This is hands down the best version you’ll ever make at home, and I’m here to guide you through each twist and turn, so you can bake with confidence and flair. I’ll share every micro‑challenge, every bold claim, and every little hack that turns a good batch into an unforgettable experience. And if you’ve ever felt like your honey buns just don’t rise to the occasion, stay with me here—this is worth it.
What Makes This Version Stand Out
- Taste: The honey glaze is not just sweet; it’s a layered symphony of caramelized sugar, buttery undertones, and a whisper of vanilla that lingers long after the last bite.
- Texture: The dough achieves a light, airy interior with a slightly crisp exterior—think of a cloud that’s been kissed by a gentle breeze, yet still holds its shape.
- Simplicity: Despite its gourmet finish, the recipe requires only a handful of ingredients and a single mixing bowl, making it accessible for both novices and seasoned bakers.
- Uniqueness: The subtle use of cold milk in the glaze gives a glossy finish that sets this recipe apart from the ordinary honey bun.
- Crowd Reaction: Friends and family will ask for the recipe after the first batch; the buns are so addictive that they’ll beg for seconds.
- Ingredient Quality: Using real butter, whole milk, and high‑quality honey elevates the flavor profile beyond store‑bought versions.
- Cooking Method: The two‑stage rise ensures maximum fluffiness, while the final glaze step creates a caramelized crust that’s both beautiful and delicious.
- Make‑Ahead Potential: The dough can be refrigerated overnight, allowing you to bake fresh buns in the morning with minimal prep.
Inside the Ingredient List
The Flavor Base
Whole milk and active dry yeast are the backbone of the dough, creating a tender crumb that’s both moist and slightly sweet. The milk’s proteins tenderize the gluten strands, while the yeast initiates fermentation, producing those airy pockets that make the buns rise. If you skip the milk, the dough will be dry and crumbly, lacking that silky mouthfeel. For a dairy‑free version, replace whole milk with oat milk, but keep the temperature at 110°F to maintain yeast activity.
The Texture Crew
Unsalted butter, granulated sugar, and a large egg work together to build a rich, buttery dough that’s soft to the touch. The butter adds flavor and keeps the buns from drying out, while the sugar feeds the yeast and adds subtle sweetness. The egg binds the mixture, giving the buns structure and a golden crust. If you omit the egg, the buns will be denser and less cohesive.
The Unexpected Star
Ground cinnamon, brown sugar, and honey are the secret weapons that transform ordinary buns into a fragrant, caramelized delight. Cinnamon provides a warm, spicy kick that complements the sweetness of honey, while brown sugar adds depth and a hint of molasses. Honey is the star of the show, creating a glossy glaze that’s both sweet and slightly floral. If you’re allergic to honey, try maple syrup, but note that the glaze will have a different flavor profile.
The Final Flourish
Powdered sugar, vanilla extract, and a splash of milk finish the buns with a silky glaze that coats each roll like velvet. The powdered sugar provides the fine, dusting sweetness, while vanilla adds a subtle aroma that lingers. The milk in the glaze helps achieve that glossy sheen, preventing the honey from becoming too thick. If you prefer a more robust glaze, add a teaspoon of lemon zest for a citrusy brightness.
Everything's prepped? Good. Let's get into the real action.
The aroma that hits your nose as the buns bake is the first sign you’re on the right track. The scent is a warm, buttery caramel that lingers long after the oven door closes. That sizzle when it hits the pan? Absolute perfection. The dough’s first rise takes about 45 minutes at room temperature, but if you’re in a hurry, a 20‑minute quick rise in a warm spot works too. Remember, the dough should double in size, not just puff slightly; this indicates the yeast is doing its job.
The Method — Step by Step
- In a small saucepan, warm the whole milk to 110°F. Stir in the active dry yeast and a pinch of sugar, letting it sit for 5 minutes until frothy. This is the moment of truth—if the mixture doesn’t froth, your yeast might be dead. Once frothy, set aside to cool slightly.
- In a large mixing bowl, combine the flour, salt, and the remaining granulated sugar. Whisk them together to distribute the salt evenly. This ensures that the salt doesn’t burn during the first rise, keeping the dough tender.
- Add the frothy yeast mixture, the egg, and 0.25 cup of unsalted butter to the dry ingredients. Mix with a wooden spoon until a shaggy dough forms. The butter should be soft but not melted; if it’s too warm, it will create a greasy dough.
- Turn the dough onto a lightly floured surface and knead for about 8 minutes until it’s smooth and elastic. Feel the dough—it should be tacky but not sticky. If it’s too sticky, sprinkle a little more flour; if it’s too dry, add a splash of milk.
- Place the dough in a greased bowl, cover with plastic wrap, and let it rise in a warm place for 45 minutes, or until it has doubled in size. The dough should have a slightly domed shape, not a flat one.
- While the dough is rising, prepare the cinnamon filling. In a small bowl, mix 0.5 cup brown sugar, 1.5 tbsp ground cinnamon, and 0.5 cup unsalted butter. Stir until the butter is melted and the mixture is smooth. This filling will be the heart of the buns, giving them that signature flavor.
- After the dough has risen, punch it down gently and turn it onto a floured surface. Roll it out into a rectangle measuring 12x18 inches. Spread the cinnamon filling evenly over the dough, then roll it tightly into a log. Slice the log into 12 equal pieces, placing each on a parchment‑lined baking sheet.
- Cover the buns with a damp towel and let them rise for another 20 minutes. The dough should puff up again, creating a fluffy interior. While the buns rise, preheat the oven to 375°F (190°C).
- Bake the buns for 20 minutes, or until they’re golden brown and have a slight crackle on the top. The first few minutes of baking will show the glaze starting to caramelize, turning a deep amber color.
- While the buns are still hot, whisk together 2 cups powdered sugar, 3 tbsp honey, 1 tsp vanilla extract, and 2 tbsp cold milk to create the glaze. Brush the glaze generously over the warm buns, allowing it to pool slightly in the crevices. The glaze should set quickly, creating a glossy finish that’s almost glassy.
- Let the buns cool on a wire rack for 10 minutes before serving. The glaze will firm up, giving the buns a perfect, slightly sticky exterior that contrasts with the soft interior. Enjoy the first bite—your taste buds will thank you.
That’s it—you did it. But hold on, I’ve got a few more tricks that will take this to another level.
Insider Tricks for Flawless Results
The Temperature Rule Nobody Follows
The milk’s temperature is critical; if it’s too hot, it kills the yeast; too cold, and the dough won’t rise properly. I always use a digital thermometer to keep it at exactly 110°F. A quick test is to sprinkle a pinch of flour on the milk; if it froths within a minute, you’re good. This small detail can make the difference between a fluffy bun and a dense loaf.
Why Your Nose Knows Best
Trust your nose during the rise; if the dough emits a sweet, yeasty aroma, it’s ready. A sour or off scent indicates the yeast is dead or the dough is over‑fermented. If you’re in a rush, cover the dough with a damp towel to keep it from drying out while still allowing the yeast to work. The smell is the most reliable indicator of a successful rise.
The 5‑Minute Rest That Changes Everything
After the final rise, let the buns rest for 5 minutes before brushing the glaze. This pause allows the gluten to relax, preventing the glaze from cracking. It also lets the buns settle, giving them a more uniform shape. Skipping this step often results in uneven, cracked tops.
The Perfect Glaze Consistency
If the glaze is too thick, it won’t spread; if it’s too thin, it will run off. Adjust the amount of powdered sugar or milk until you achieve a glaze that pours but still sets quickly. A simple trick: let the glaze sit for a minute before brushing; it will thicken slightly, making it easier to control.
The Secret of a Crispy Edge
To get that crisp edge that shatters like thin ice, bake the buns at a slightly higher temperature (400°F) for the last 3 minutes. Keep a close eye on them; the glaze can burn quickly. This step gives a satisfying crunch that pairs perfectly with the soft interior.
Creative Twists and Variations
This recipe is a playground. Here are some of my favorite ways to switch things up:
Nutty Delight
Add 1/4 cup chopped pecans to the cinnamon filling for a crunchy texture. The nuts give a buttery flavor that complements the honey glaze. They also add a protein boost, making the buns a little more filling.
Chocolate Swirl
Swap the cinnamon filling for a swirl of melted dark chocolate and a pinch of sea salt. The chocolate adds richness, while the salt balances the sweetness. Serve warm for a gooey, molten center.
Citrus Burst
Mix 1 tbsp orange zest into the glaze and add a teaspoon of lemon juice to the dough. The citrus brightens the flavor and provides a refreshing contrast to the honey. This version is perfect for spring and summer mornings.
Spiced Up
Add 1/4 tsp nutmeg and a pinch of clove to the cinnamon filling. The warm spices create a deeper, more complex flavor profile. This variation is ideal for cozy fall afternoons.
Vegan Version
Replace the butter with coconut oil and the egg with a flaxseed “egg” (1 tbsp ground flaxseed + 3 tbsp water). Use plant‑based milk and honey or maple syrup for the glaze. The texture remains soft, and the flavor stays true to the original.
Gluten‑Free Twist
Swap the all‑purpose flour for a gluten‑free blend that includes xanthan gum. Use the same proportions, but be prepared for a slightly denser texture. The honey glaze still gives that sweet finish.
Storing and Bringing It Back to Life
Fridge Storage
Store the cooled buns in an airtight container at room temperature for up to 3 days. The glaze will soften slightly but remain delicious. If you need to keep them longer, wrap each bun individually in parchment paper before placing them in a zip‑lock bag.
Freezer Friendly
Freeze the buns in a sealed bag for up to 2 months. When ready to eat, thaw at room temperature for 2 hours, then reheat in a 350°F oven for 10 minutes. The glaze will retain its glossy finish if you brush a little honey over the buns before reheating.
Best Reheating Method
The key to reviving these buns is to add a tiny splash of water or milk to the glaze before reheating. This creates steam that re‑softens the interior and restores the glaze’s shine. Warm them gently, and they’ll taste as fresh as the day you baked them.